Preface: This is part of a series which starts here and will probably have two more installments. This part covers making the top bars themselves. Enjoy my continued incompetence!
Welcome once again to my hive-making journey! This section of the project was a repetitious saw-bladed blur so my days might be mixed up a bit. I shall do my best!
DAY 7
PREP WORK
Previously on woodworking with Katie: ANGLES ARE HARD. So in a continued attempt to tackle my weaknesses, I decided to do the most complicated part of the hive to me – the top bars. In case you’re confused about what the “top bars” are, they are these doohickeys:

(Pic from http://www.ranprieur.com/land/hive.html)
BASICALLY the idea is that the little wedge provides a guide and attachment point for the bees to draw their comb. It is also STEP 8 in the HIVE MAKING HERO’S JOURNEY: facing a trial so grievous that (finger) death seems inevitable, and the eventual rebirth of hope (but not fingers). THIS IS A SERIOUS PROJECT, YA’LL.
Fortunately I decided to seek EXPERT INTERNET ADVICE! I made an ally in the priceless blog post from the Happy Hour at the Top Bar explaining in detail not only how to make said magical wooden widgets, but ALSO how to keep one’s fingers while doing so! I had not considered losing fingers on this project, so it definitely put the fear of blades into me. Straightaway I realized I needed to look into these things called “push sticks,” “magnetic featherboards,” and “tenon jigs.” I decided to be ADVENTUROUS and visit a hoity-toity woodworking store. Spoilers EVERYTHING WAS EXPENSIVE and I did not fit in with the rich, middle-aged, silver-haired male patrons. Apparently said patrons also place a much HIGHER cash value on keeping their fingers than me because I could not afford any of the things. I ended up being a typical lazy millennial and ordered a push stick on Amazon, found a video on how to make a tenon jig, put on my beanie, grabbed a cup of coffee, and girded my loins (with plaid) for war.
DAY 8
THE WAR BEFORE THE CALM
Today’s goal was simple: show my parents that I’m a WISE, SAGELY, WOODWORKING ADULT. Not sure that goal worked out since most of the day was spent with my mom constantly asking, “What are you DOING?” while I exclaimed, “I’M MAKING A TENON JIG,” much like a five year old trying to acquire cardboard, aluminum foil, and duct tape while yelling, “I GOING TO OUTER SPACE!”
When I finally finished everyone was still confused.
To be fair, this looks like a huge mistake instead of a finished product.
So, explanation time. BASICALLY, this is my wooden amulet of finger protection when it comes to one of the necessary cuts to make these top bars. In fact, I should back up and cover the cuts necessary.
- First off I need to cut lengths of (for my hive) 20 inches to start.
- Then I cut those into 1 3/8 inch wide strips. If you’re my dad, you’re asking, “Why are bees so picky? What happens if it’s 1 1/2 inches? Will they leave?” At this point if you’re my mom you chime in, “How is this all so complicated!? How did anyone ever figure this out?!” and instead of explaining the long and rich history of Reverend Langstroth and Abbé (Abbot) Warré, fathers of beekeeping, I will start yelling “BECAUSE BEE SPACE! BECAUSE BEE SPACE!” Spoilers: if it’s less than 1/4 inch they will propolis it shut and if it’s more than 1/2 inch they will try to fill it with comb and all kinds of nonsense will happen. Bees are fascinatingly adaptive of where they live but pretty rigid about COMB and SPACE because of, well, a lot of reasons.
- ALRIGHT, then I need to do the first cut of what I call my “shelf” down the middle of the two ends (ended up being about 1 1/4 inches into it) so that eventually it will sit nicely on the lip of my hive.
- THEN I cut the rest of that off on both sides to finish the “shelf.”
- (Are we done yet? NOPE!) Next comes matching the angle of the hive body itself so that my little triangle wedge will not leave gaps between the hive wall and itself.
- FINALLY we get to cutting the wedge itself.
In all, counting each cut individually, there are approximately 10 cuts to make each top bar. At some point near the end of this day I do some calculations to figure out how many I need to make. 64.
Can you see how these days started to blur together with ~640 cuts to do? MMHMM.
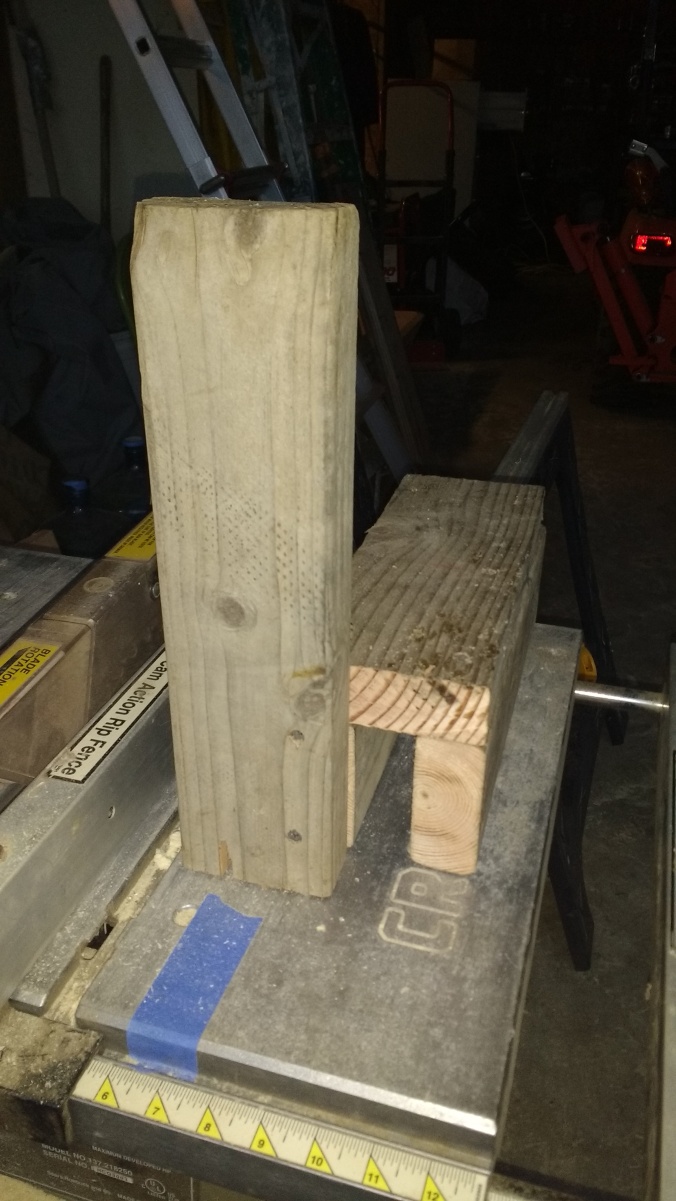
So, back to my tenon jig. It was made to safely cut the #3 cut in the list, which looks sort of like this when it’s being done:
You might be saying, “That’s not in the middle!” You’re right, but I don’t appreciate your attitude.
I can safely hold the board at the top, theoretically the jig will keep it square and in the right place, and I can shove it forward (it rests over my table saw’s adjustable fence) then pull it back once the cut has been made, then flip it, then do it again. 89 times. (Spoilers I made extra because I love pain.)
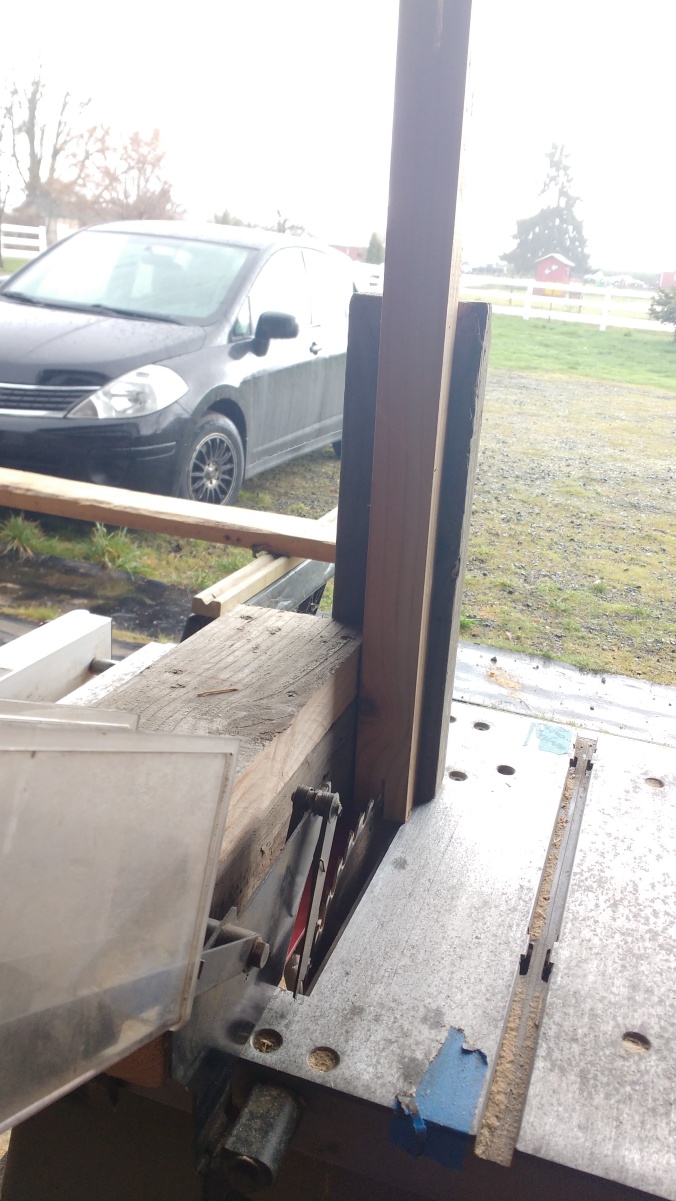
For this first day I wanted to test using the jig, and trying to get the angles right for the first angled cut.
Right length! 20 inches across (the comb/wedge will be 18 inches underneath).
There was a lot of…angle adjustment. I eventually broke out the compass again. I eventually got it sorted so that there wouldn’t (hopefully) be enough room in-between that the bees would decide to propolis or comb too badly to the walls.
It was at this point that I realized I only had enough wood from my original purchase to make…not enough top bars.
Once I realized I needed a MOTHERLODE more wood, it was off to scavenge. We went down to the second barn and rummaged around for wood. At this point I was still trying to be picky but my resolve was running low. My brother then showed up and suddenly we were all going through the barn like it was American Pickers (or so he said). I may or may not have ended up with an additional six oil lamps to join my two at home. Next power outage we’ll BE READY (or something). Oh no, I’m going to be one of those weird old ladies that has a stupid huge collection of something random like oil lamps, huh? Sigh.
Today’s supplies:
- Push stick: $9.99
- (3) 6 inch x 2 inch x 8 ft boards: scavenged
- Tenon jig supplies: scavenged
- Total cost for the day: $9.99 + my dad and I carrying three 8 foot boards down the road like a pair of idiots instead of using a truck
In other news, TIL (today I learned): table saws can throw chunks of wood a good 40 feet! I was impressed.
DAY 9
aka. milling lumber is my life now, I guess
I don’t even know if there are words to share about this day. It mostly is just a series of pictures involving huge piles of lumber and me wondering how long it’d take to program a robot to do it for me.
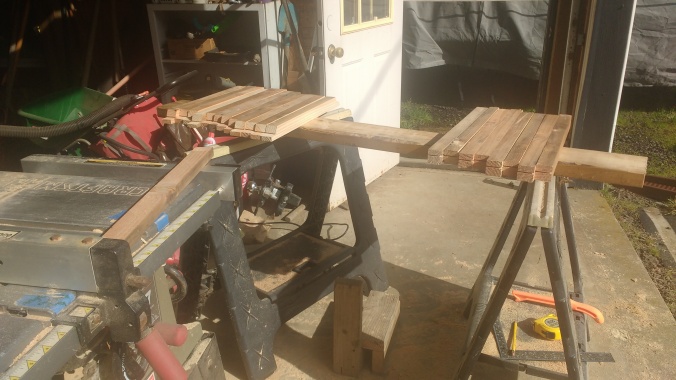
The first task was cutting all the new lumber I had scavenged into the proper 20 inch lengths. As well as taking a selfie. Because I must remind people how millennial I am.
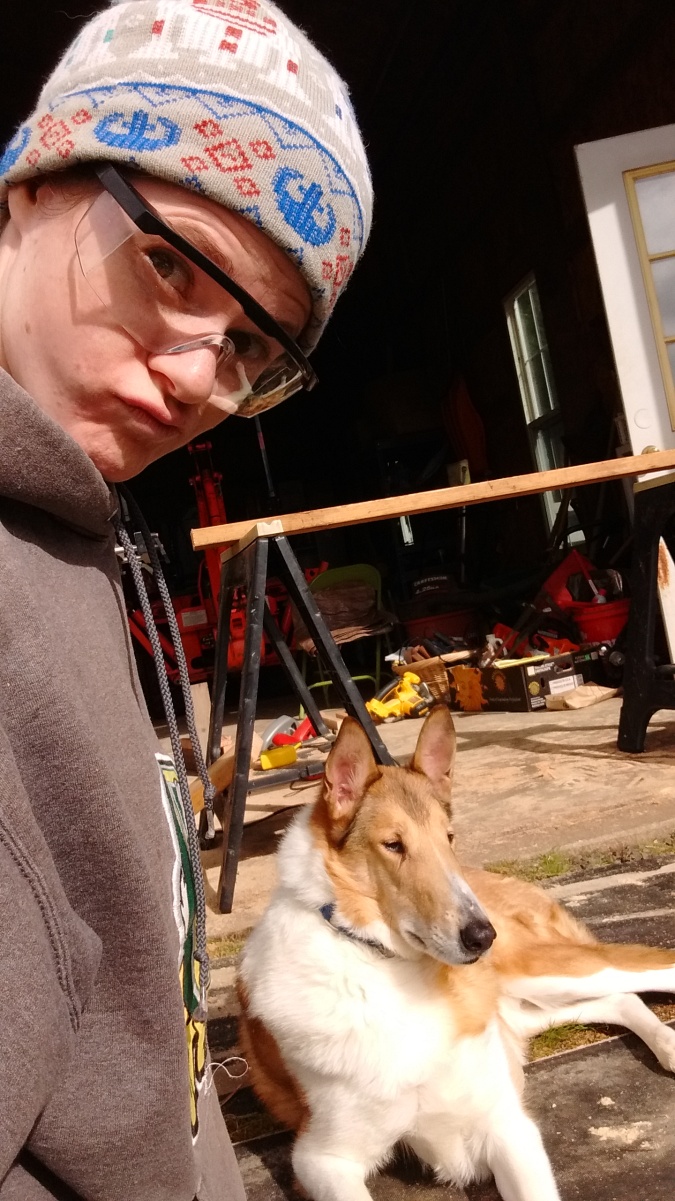
In the background you can see my sawhorse where I circular saw things in the lumbery face.
At this point it would be good to note that a more responsible adult would wear ear protection and a mask.
Shhhhhhhh.
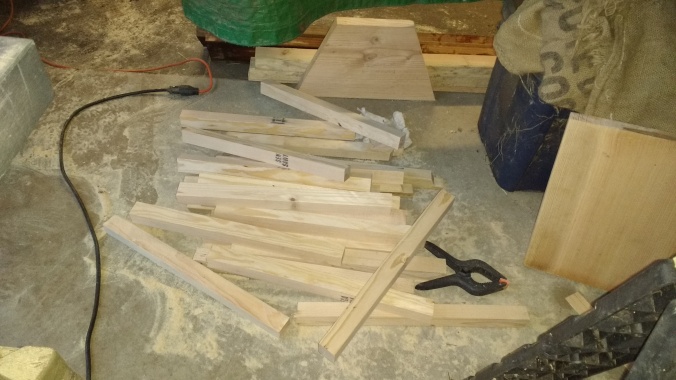
After I had cut all the necessary lengths I had a good, daunting stack ready and waiting for cut #2.
Finn posing next to the stack of cut lengths.”We’re gonna be here a while, huh?”
Following was the 1 3/8th inch cut which there was drama about because the ones I had done the day before were measuring out to more like 1 1/2 inches and THE WORLD IS A CRUEL PLACE sometimes. I decided to (mostly) not care about fixing the previous day’s and just focus on making sure that day’s were closer to what they should be.
After THAT it was time to use the tenon jib and do all my dumb cuts. This took…a lot of tweaking, honestly. Not THAT kind of tweaking. By the end of all the cuts I think I ended up with a good six or so that were (failed) prototypes. Since I made so many extra (almost 20) it all worked out because I was confident I could just pick the best ones and use any other extras for a nuc box in the future.
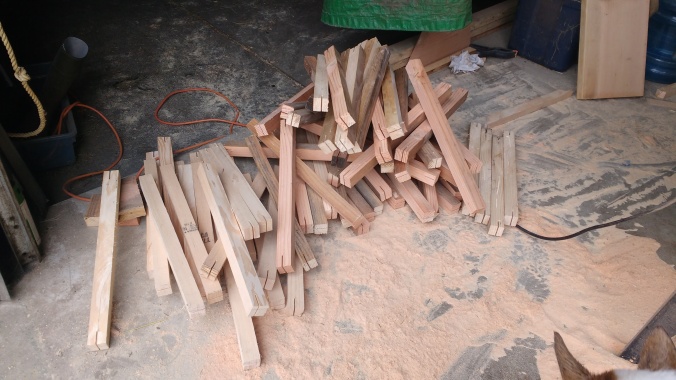
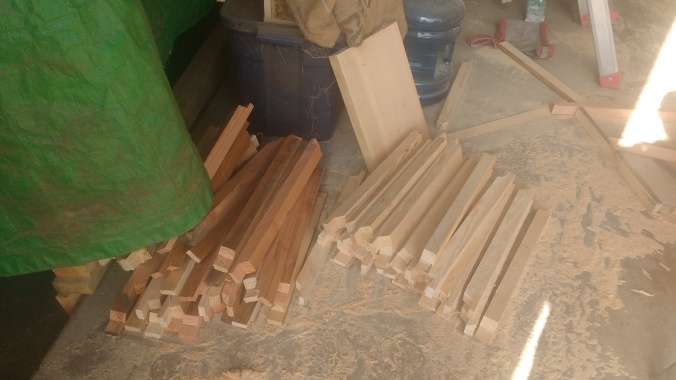
Spoilers this isn’t even all of them. This is about a third to a half.
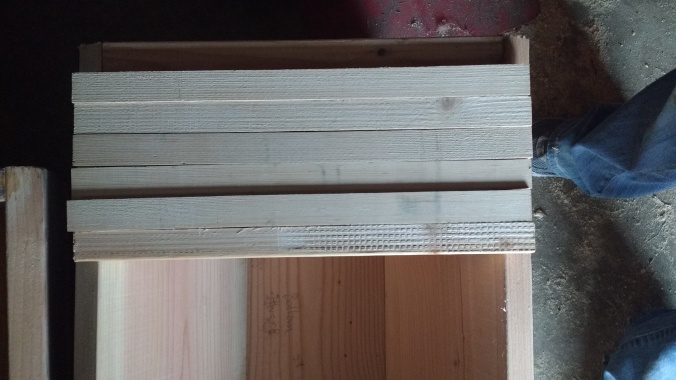
Because of the sheer number of what I was dealing with, I ended up creating a little assembly line for myself at each step. Here you can see pre-shelf cuts and post-shelf cuts (but pre wedge cuts). I of course did all the cuts in one step before moving on to the next so I was a little worried I’d get to the end and realize I had made 80+ useless top bars, so I would test out each batch as I could. With the ones pictured on the left each time I finished a batch I would double check to make sure they still fit the hive fine and that my fence hadn’t slipped while I was ripping all the lumber.
Oh yeah, ripping lumber. That’s a term. It’s weird but I love it.
“I GOTTA RIP THIS BOARD A NEW ONE”
“…”
From this picture on there’s a weird haze on my lens. It may or may not be the amount of sawdust that is just, EVERYWHERE.
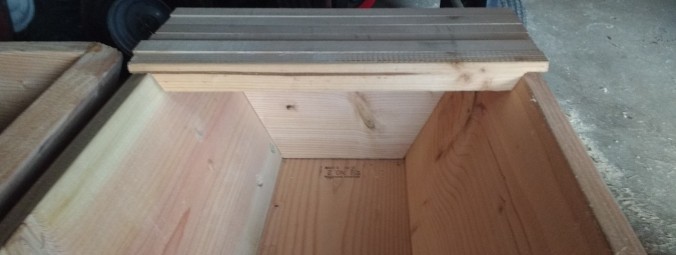
Some of the “shelves” completed, ready for the final cuts to make the wedge!
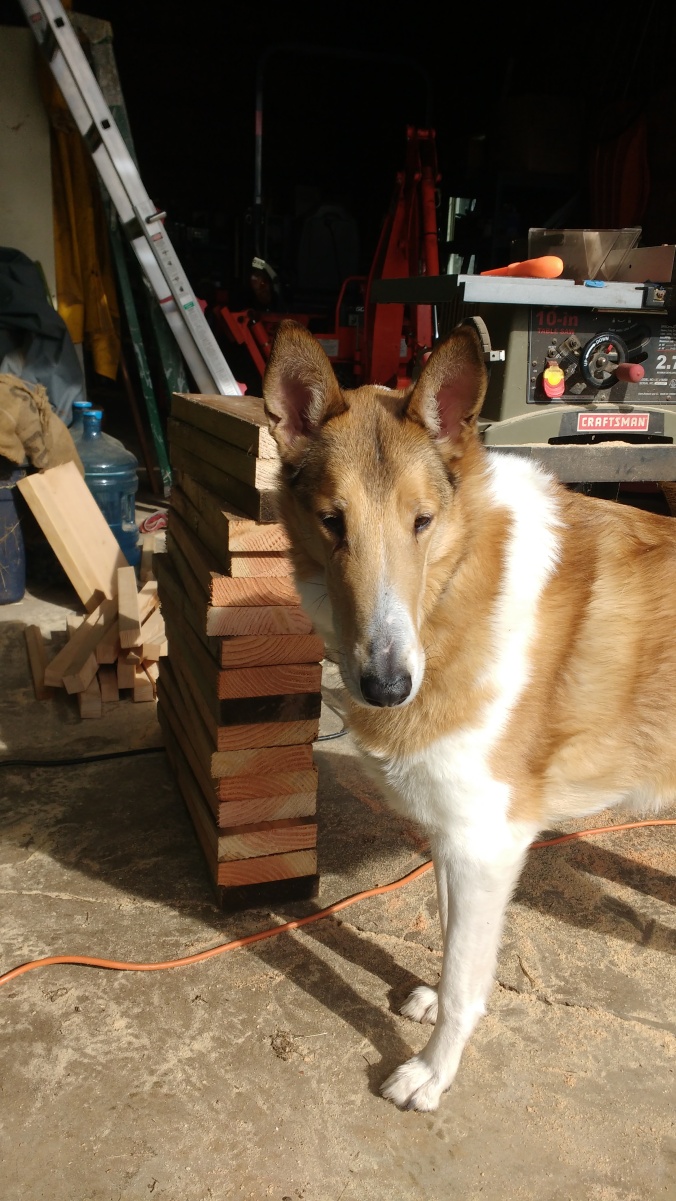
I did some test cuts on the final wedge to see what angle I wanted to do – this was one thing I hadn’t researched. 45 degree? 35? 30? WHAT IS OPTIMAL. Fortunately (or unfortunately?) it was at the end of the day so I just went with what “felt right.” I believe that was 35 degrees. I remember taking WAY MORE PICTURES but somehow…they aren’t on my phone. Maybe I thought about it but didn’t because I was so focused on cutting ALL THE THINGS. It was fascinating because I’d start to zone out I was doing so many repetitive actions. Zoning out around sharp spinning metal circles is probably not a great idea. At one point I thought I saw something out of the corner of my eye and turned to see my project helper (Mr. Finn the Collie) with his paws up on the windowsill of the mail truck who had come to deliver a package. I’m not sure if he was saying, “PLEASE RESCUE ME FROM THE MOST BORING PROJECT EVER,” or just inspecting the delivered goods for contraband. Probably both.
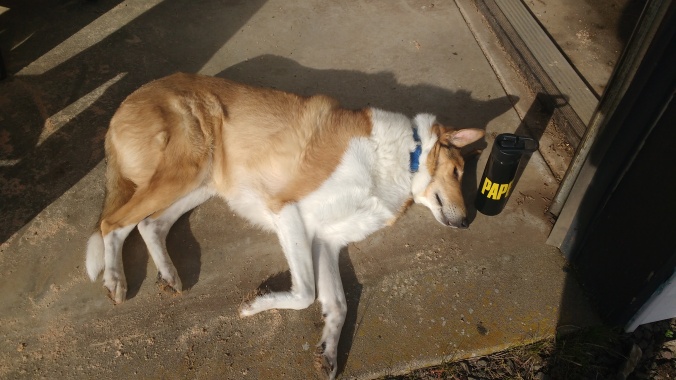
My bee hive project buddy is 100% done with this nonsense.
Finally I decided to CALL IT A DAY.
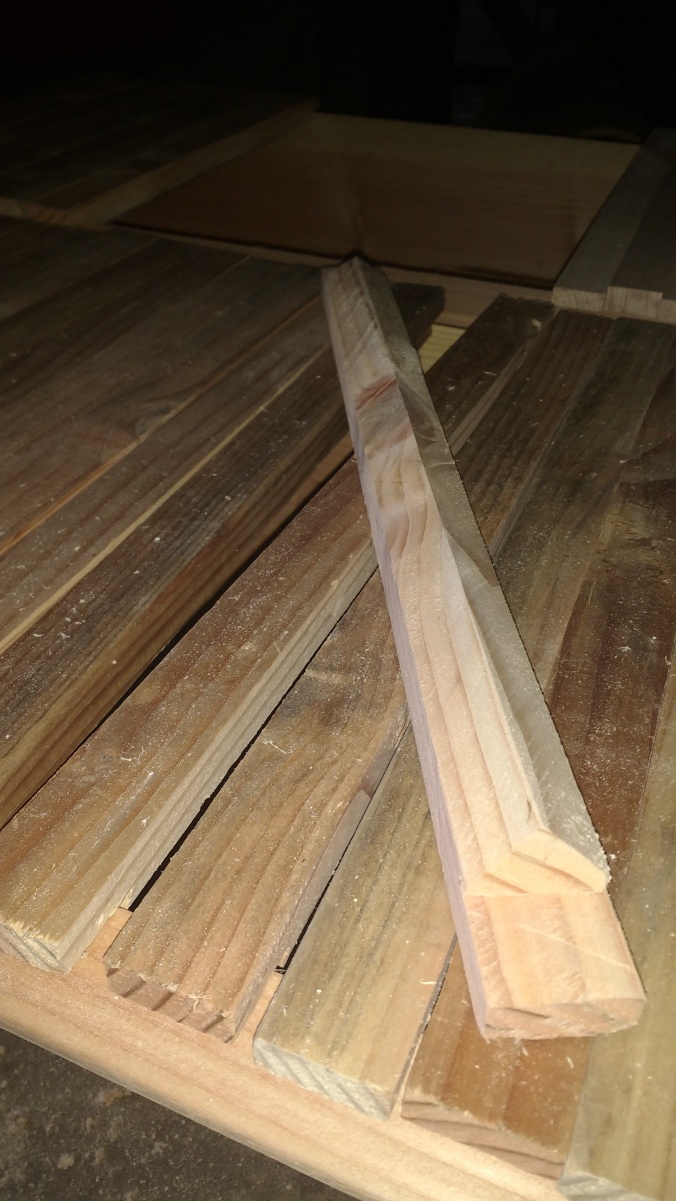
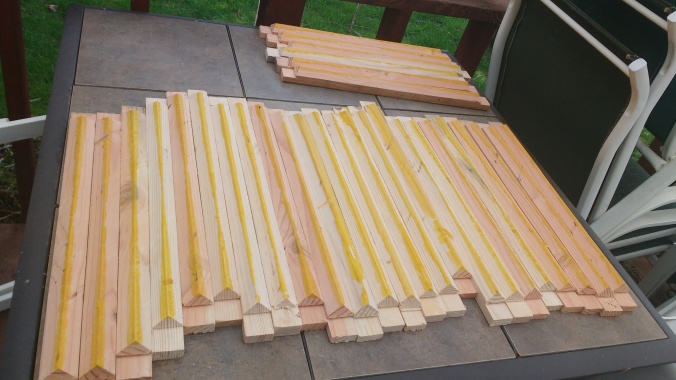
One of the final products. I got all but about 20 done this day from start to finish. IT WAS CRAY PRODUCTIVE.
And then I decided on the way home to swing by and get some wax from GloryBee for the next step: creating wax guides for the top bars.
Spoilers: WAX IS EXPENSIVE.
- 1 lb bag of wax
- Total cost of today’s supplies: $12.95
I finished out the day by messaging my friend’s mom asking if I could use her electric skillet to melt wax for my top bars and she took it disturbingly in stride which really shows what kind-of reputation I have.
DAY 10
With wax and electric skillet acquired, I WAS READY TO FINISH THE TOP BARS. This section of the project had gone off essentially without a hitch so I was CONFIDENT AND COCKY in my newfound know-how.
Don’t worry.
Pride always comes before a fall.
There were some problems.
I had witnessed this work in a Youtube video, wherein there was an electric skillet, a little aluminum foil trough, and smooth sailing.

(Screencap from below video which WordPress doesn’t want to just link like a normal person and I am too lazy to fight it right now.)
There are a few differences in our setup:
- The skillet I had borrowed had a lip and was shorter.
- I don’t want to brag but my top bars are much longer.
- I wasn’t wearing enough flannel.
For some reason I didn’t take a picture of the top bar as a size comparison. You’re just gonna have to take my word for it when I saw it’s not gonna fit.
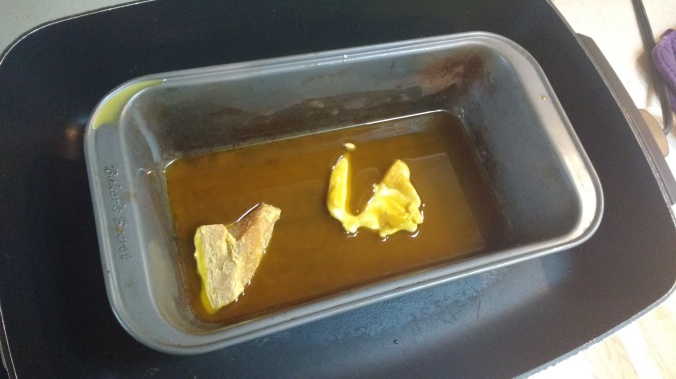
THIS IS FINE, I thought, I’ll warm it up in a bread pan (above) and then just dump it into a longer aluminum foil trough and dip them real fast and it’s fine.
This is exactly how many I got done before the wax hardened.
It’s not fine. Not only did that not work, the only one I did manage to do was TERRIBLE. For imagination’s sake, just the top of the triangle is supposed to be dipped and it’s supposed to be a STRAIGHT LINE. Anyway.
It’s all too late the snowball of insanity had begun. The next thing I know my mom has a cookie sheet over an open flame and we’re creating even worse monstrosities.
This is a great example of what it SHOULDN’T look like!
At this point I just resign myself to it and bust out some cotton swabs to dab a tiny line and then call it quits.
Meanwhile my mom still refuses to be conquered.
Next thing I know, we’re BBQing wax on the patio and dipping top bars in.
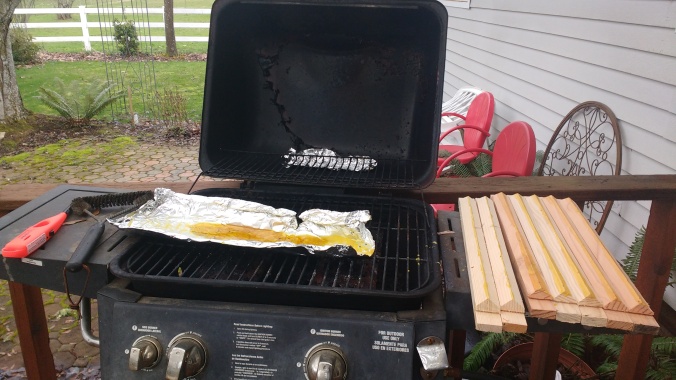
This is the face of resilience, I guess.
It wasn’t pretty but it worked, and I guess that’s all that matters in the end? (Yikes.)
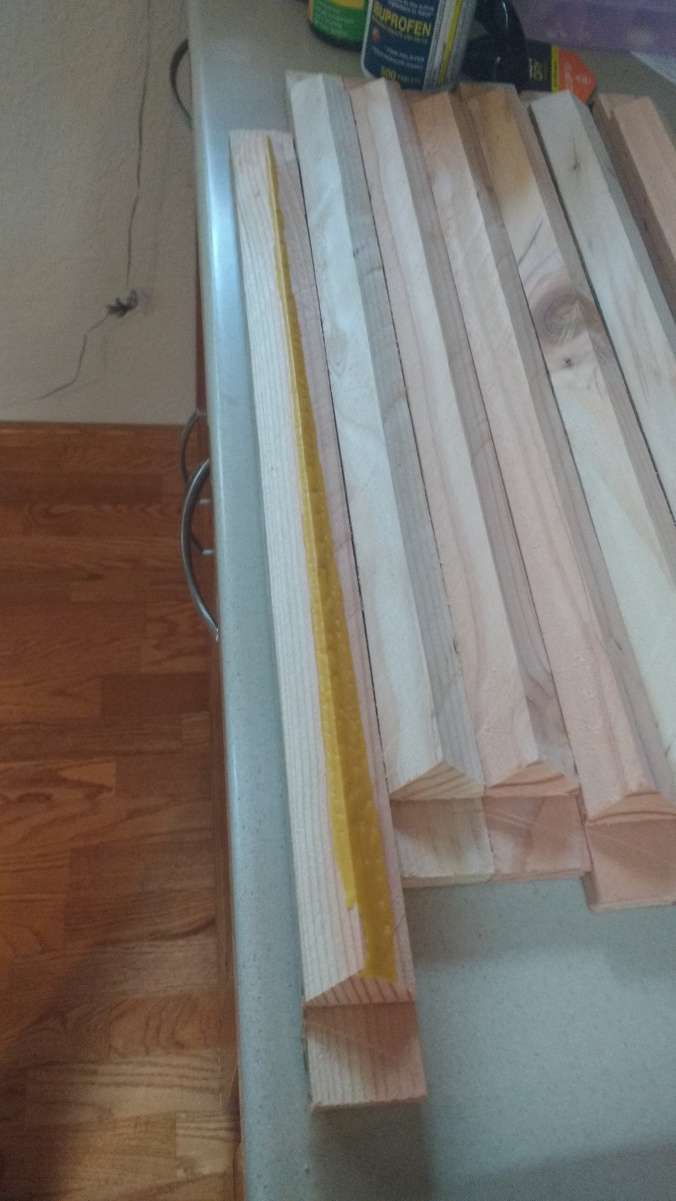
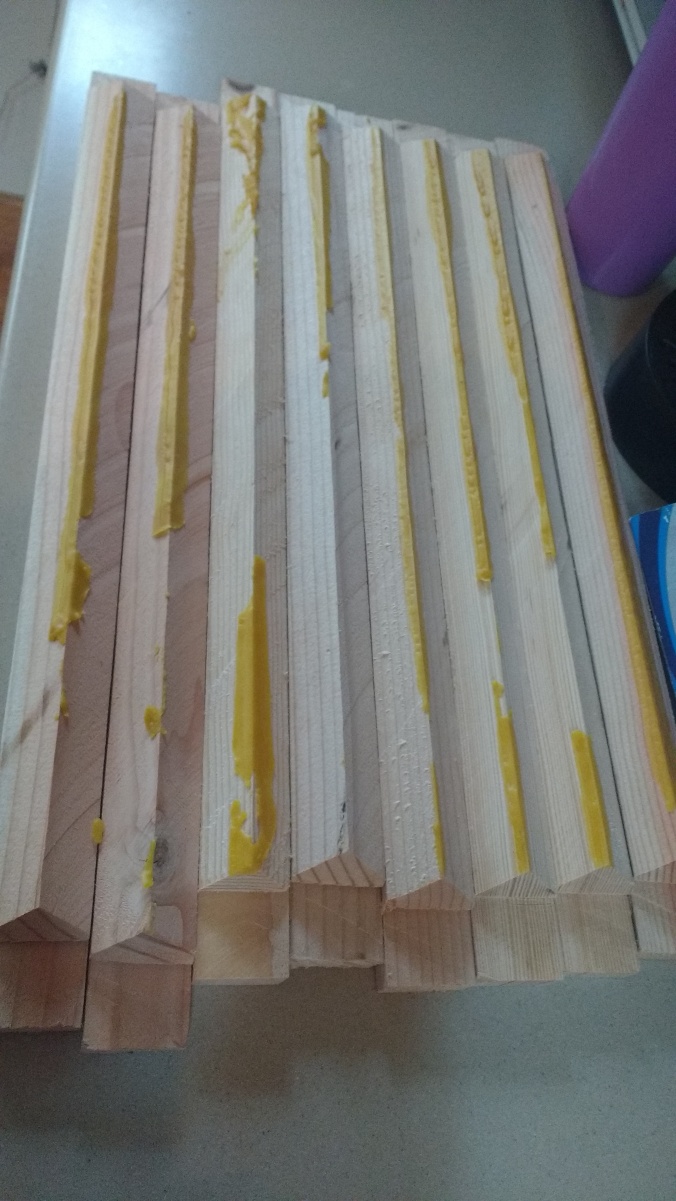
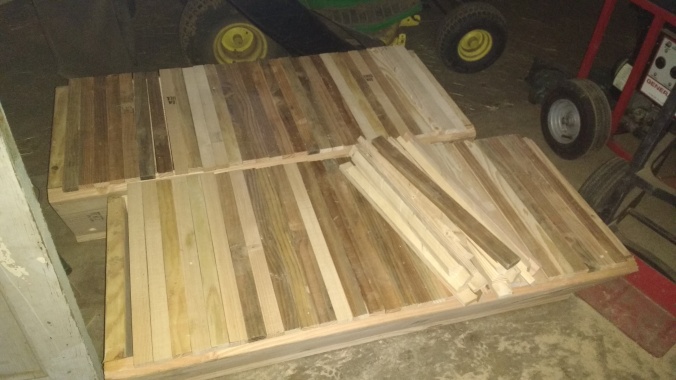
This is…I think about a third of the top bars? I was only going to dip 20 for my starting bars (because I anticipate the wax melting in the heat before giving them additional ones to build on, but also my mom was SO ENTHUSIASTIC I figured why not just do (almost) all of them.
I then decided to wrap up by cutting those last few top bar extras and took the world’s blurriest photo of the finished group.
SO.
MANY.
BARS.
I was originally going to include making the follower boards in this section of the project (and I should have) but also I was tired and decided if I didn’t blog these steps I’d forget them forever. Thanks for reading and hope you join me for the next post in this series!
Next step: making the legs and/or roof!
Oh, I almost forgot: this is the real MVP.
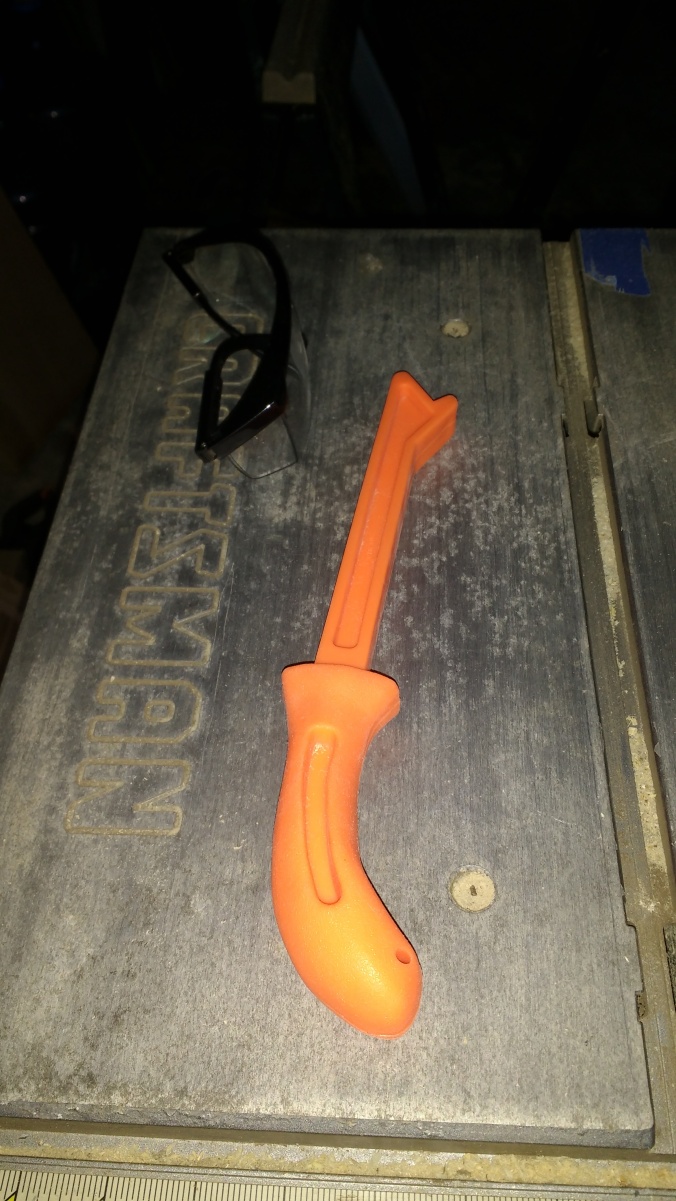
#PushSticksFTW

Pingback: Project: Making a Kenyan Top Bar Bee Hive (Part 1) | VanBow
Favorite part: “I ended up being a typical lazy millennial and ordered a push stick on Amazon, found a video on how to make a tenon jig, put on my beanie, grabbed a cup of coffee, and girded my loins (with plaid) for war.”
What does propolis mean?
What does a push stick do?
LikeLike
Propolis is what bees make to coat the inside of their hives and act as a glue and/or sealant. It’s made from tree sap they collect and then they combine it with wax and other bee substances. I love the smell. It looks a little…interesting.
A push stick is used to get thin pieces of wood through the wood saw so you don’t lose a finger doing it. Obviously having fingers 1 3/8th inches away from a spinning saw blade is…not ideal. XD Basically just acts as a finger/hand extension.
LikeLike
For your next batch of bars you may omit the waxing. A pronounced ridge is an adequately strong hint for the bees.
LikeLike
Thanks! Yeah I figured it would be fine, but I also thought it would be much easier to accomplish. If I had realized what a hassle it was going to be I would’ve skipped it, and am definitely planning to skip it in the future. 😉
LikeLike
Pingback: Project: Making a Kenyan Top Bar Bee Hive (Part 3) | VanBow